The Woods editing task
As practise for editing when our groups record our footage, we where asked to look at the woods trailer (a trailer created by another A level group) and edit it to a teaser trailer. This evolved selecting the shots we wanted to use out of the three minutes of clips the full trailer had. This wound help use develop skills at editing so our actual film will look much more professional.
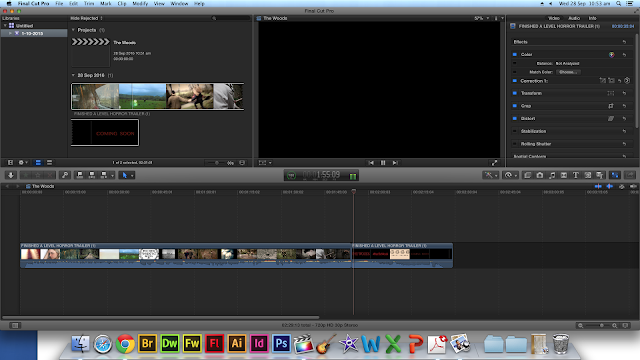 |
We started the editing by downloading 'The Woods' MP4 file off of YouTube. This aloud us to access both the moving image and the sound. With this file we imported into our writing software which is final cut and began editing the piece so it would be a teaser trailer and not a full trailer.
|
 |
| We first looked at what shots we actually wanted in out teaser. Because we have already done research into teasers we realised that teaser trailers do not have to have a narrative. This was good for us because I liked the beginning 30 seconds of the clip. It was shot very well and the music also went in very well with it. This meant we could keep the beginning shots and then study the other shots to see what the last 30 seconds would be. After choosing the shots we wanted to select we used to cut tool to delete the clips we didn't want. As the whole thing was one big clip I used the blade tool to split the big 3 minute long trailer into multiple little ones like it actually would be when editing footage together. |
 |
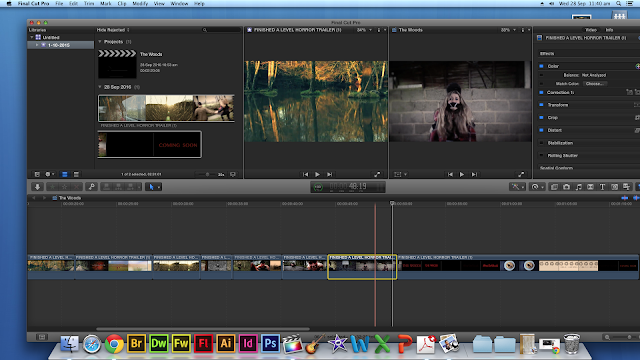
After we got the new trailer to one minute screen time we had to make the new footage flow so it looked profession. This evolved us editing both sound and footage. When looking at the footage we had to make sure that the cuts weren't to jumpy unless we where trying to get the excitement across to the audience. We used the trim tool to make sure that the clips where of the right length and that they cut between each other in the correct way.
|
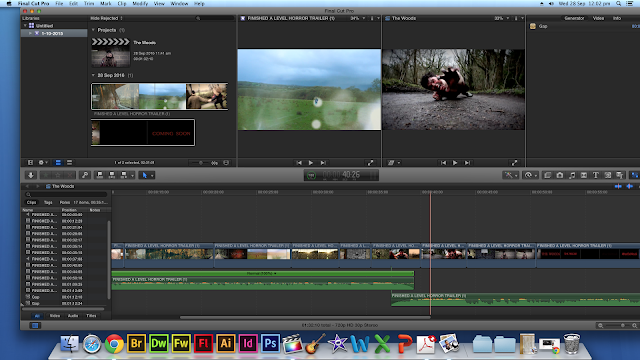 |
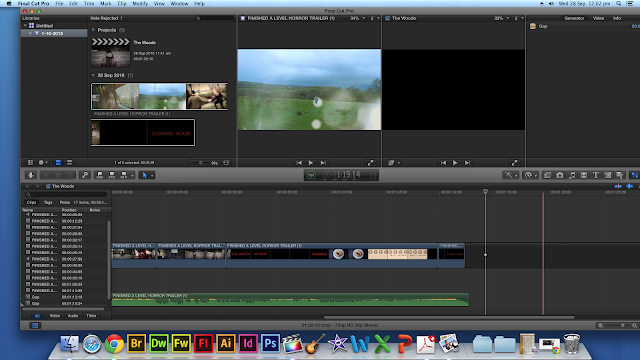
| After making the footage flow correctly came the hardest part for me when it came to editing the trailer. This was making sure the sound worked effectively. This meant we had to do many of the things we did when editing the footage to the sound. We had to first detach the audio from the clips and then cut it with the blade to get selected sounds and backing tracks. Once we got all the raw sounds we needed we then had to finalise the audio. We found that at some points the music stopped to suddenly because of the way we had cut and mashed sounds together without using the footage that went with this sound. This meant we had to use some sound techniques to make sure it was professional. I used layering and also fades to create a good effect. We faded out the end of certain parts of the song and layered them over the start of others. This mean that they sound would not end abruptly. After getting all the sounds done we re attached the music and backing track to the video. |
 |
| Once all of the sound editng and footage editing was done we asked other people in out media what they thought about the new pice. We were happy with the results and we got some good feedback on the piece. This will definatly help use when we edit our final piece. |


No comments:
Post a Comment